
So here are the rules. #1 Leave your name (first name is all that's needed). #2 leave your email address so I can contact you if you win (if you are worried about privacy, simply email me at j4atkinson@gmail.com with your email and name) and finally, #3, tell me something you are interested in learning more about (it can be simple like Photoshop, cooking, sewing, etc.). Simple as that.
And as an added bonus, you can get extra entries if you simply do one or all of the following:
1. If you put a post on your blog about the giveaway with a link to this site, let me know in a comment or email with your site address and your name will be added twice;
2. If you add a permanent link to this site on your blog, you will be entered five extra times (be sure to let me know you did, with a link to your site, through email or comment); and/or
3. If you let your friends know about this and they enter and in their comment leave your name as a referral, your name will be added twice.
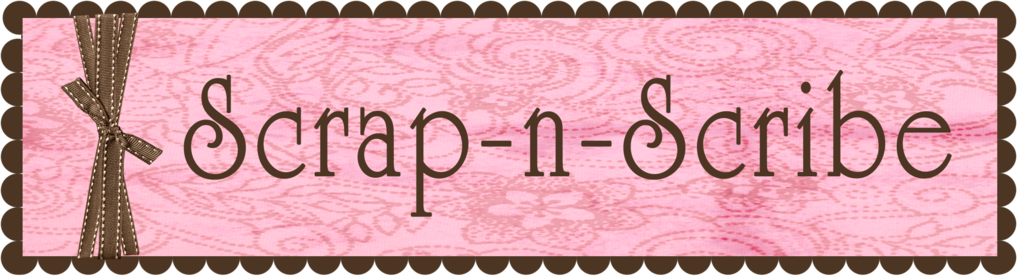
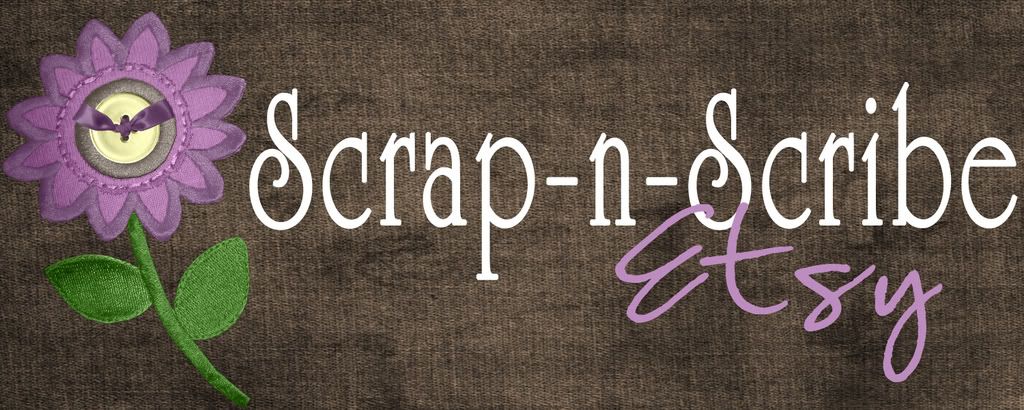
Scrap-n-Scribe
Scrap-n-Scribe makes adorable (custom if desired) journals, spa kits, cards, hairbows, headbands, gift tags, and much much more. There are so many great products and you won't be disappointed. For the winner of this you will be getting two nylon interchangeable headbands. Ever wonder where people are buying nylon headbands that are so popular right now? Well, wonder no more, it's scrapnscribe.com. You will get one light pink and one creme headband. These are perfect because they won't leave a mark on your little girl's head and they allow you to add the bow of your choosing by simply attaching it to the center ribbon. It saves you money because you don't have to buy a ton of headbands to match your outfits. Just buy one or two headbands and swap out the bows accordingly.
Scrap-n-Scribe Etsy
Scrap-n-Scribe.com

Someone will also win this adorable mini-notebook from Scrap-n-Scribe. This notebook is perfect for your purse or diaper bag. It's small enough to not take up a ton of room, but big enough for all those note, numbers, grocery lists that you need at ready access.

Bizzybee Creations
Who doesn't love custom Christmas cards! Bizzybee Creations makes the most adorable Christmas cards, custom or pre-designed (you can't go wrong either way because they are all so amazing). They also make cards for all occasions, address labels, birth announcements and more. The winner of this will get a Christmas card of your choice in digital format (it will be sent in .jpeg format via email).
Also, as an extra sweet treat, every person who enters this giveaway will receive a $5 coupon automatically. How great is that!?! Thanks Bizzybee Creations. Be sure to check out their site and order your Christmas cards now. They have some great deals going on (how's that for perfect timing!)
Bizzybee Creations

Brooklyn's Bows
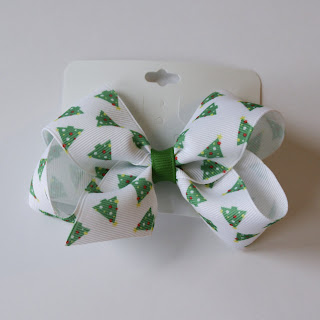
Brooklyn's Bows is an awesome site that you can not only purchase bows from but they also teach you how to make great bows. Rarely do you find a site that will give you great instruction when it comes to making stuff and this is one of those places. There are a ton of places that make you purchase instructions and Brooklyn's Bows is generous enough to do it for free.Just in time for Christmas, the winner of this will receive this adorable Christmas bow which is the perfect addition to your little girls outfit. (or yours, who am I to assume!?!). Be sure to check out this site.
Brooklyn's Bows
Silver Chic Jewelry
The winner of this will get this beautiful silver star charm from Silver Chic Jewelry. Be sure to check out their site for more beautiful, unique charms. They have some gorgeous charms and you can't beat the price. All of the charms will make great Christmas gifts so be sure to check them out and order yours now.
Silver Chic Jewelry

Iddy Biddy Bling
I decided to copy their description because it fits the jewelry perfect. But first, the winner of this will receive one newborn girl bracelet. Every little girl needs one.
At Iddy~Biddy~Bling we only use the finest sterling silver, bali silver, glass, stone, swarovski crystals, pearl beads and other quality findings. These bracelets are beautiful and made custom just for you! Your piece of jewelry will fit your taste and be heirloom quality.
Iddy Biddy Bling doesn't only make amazing, high quality jewelry, they also make custom shopping cart covers. I know these are high quality because I have one. I HATE shopping carts and the germs that cover them so I had to get one of these. Great prices and high quality, you can't be that.
Iddy Biddy Bling

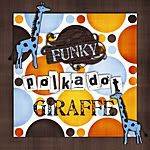
Funky PolkaDot Giraffe
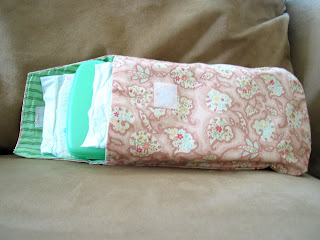
The winner of this will receive a custom diaper and wipe cover (you choose boy or girl pattern). These are so handy and stylish. I hate carrying a diaper bag, it's so bulky and heavy so this is the perfect solution to this. Not only does Funky PolkaDot Giraffe make diaper and wipe covers but they make custom burp cloths, changing pads and blankets, and you can get them all to match. Very cute! Be sure to check out their site, these will make great baby shower gifts, Christmas gifts or just a gift for yourself.
Funky PolkaDot Giraffe
Be sure to enter soon, the giveaway ends November 3rd


