
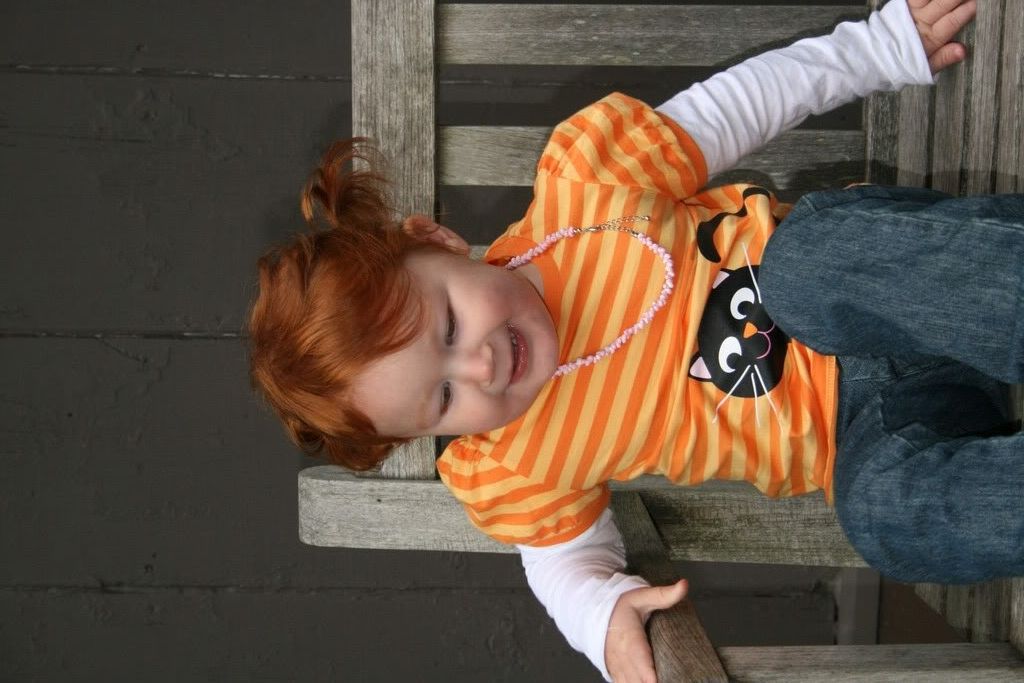
So, with that said, we'll start with our original SOOC (straight out of camera) picture. This picture was taken at Louisa May Alcott's house in Massachusetts over the weekend. Very pretty!
The first thing I do is adjust the color for skin tone. Click on enhance/adjust color/adjust for skin tone. I then adjust the levels until the skin looks normal. Try playing around with this and see all that it can do.
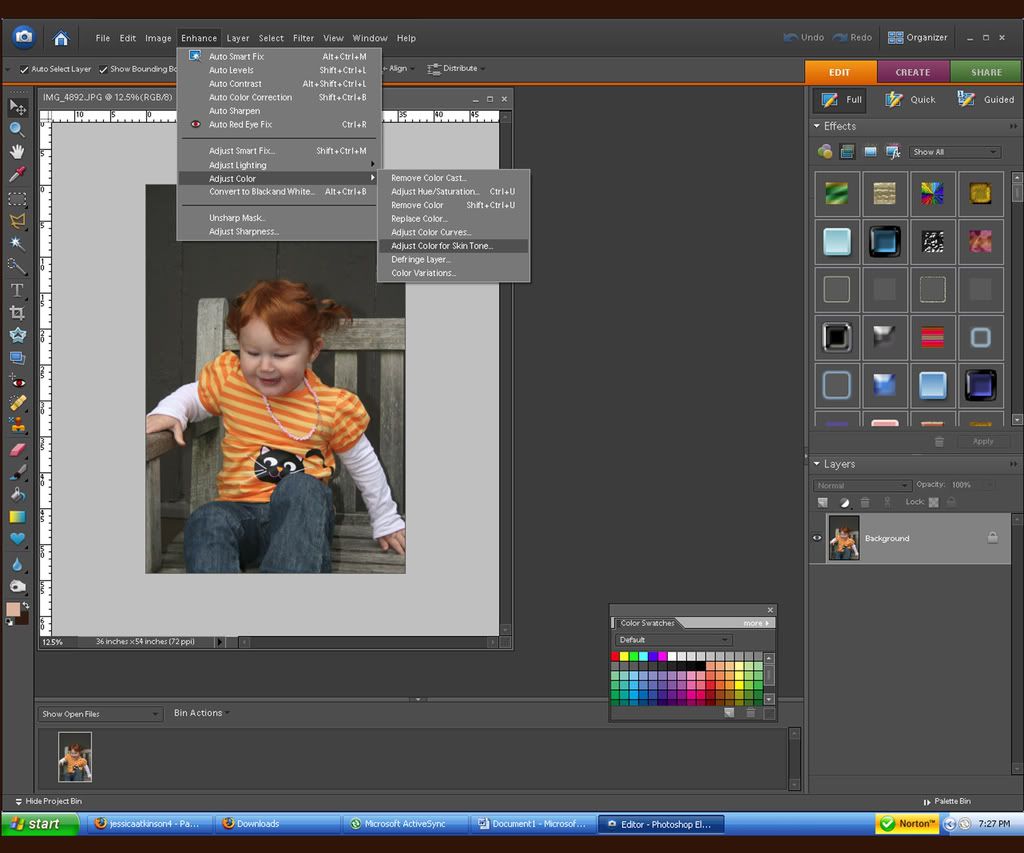
Then I adjust color levels. Enhance/adjust color/color curves
 This is never really the same, however, I tend to move it towards the same direction. It just depends how much I move it. Play around with and see what fits right for you and your picture. Every picture and every person are different.
 I then adjust the levels. Enhance/lighting/levels. This allows you to add to the dark, middle and light colors in your picture. I tend to move the dark (left) side a touch, the light (right) a little less than dark and move the midtone to the left. Again, every picture and every person are different so play around with it.
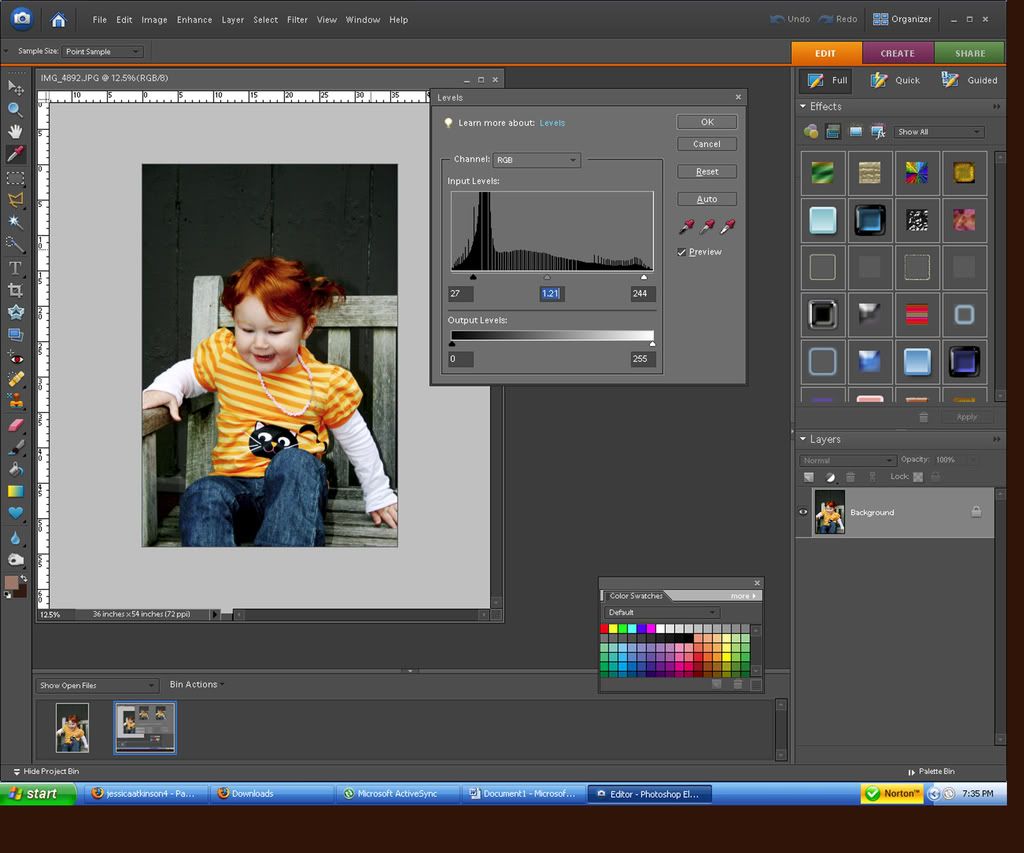 We now have a picture that pops good. I like to adjust the sharpness of my photo next. Enhance/unsharp mask. There are hundreds of standard numbers out there but the one I tend to stick closely with is 86/4/1. However, on this one I did something more like 96/3.5/1.
 You can then do your touch ups like removing any blemishes. I adjusted Teä's hair color by using the dodge tool to darken it a bit.
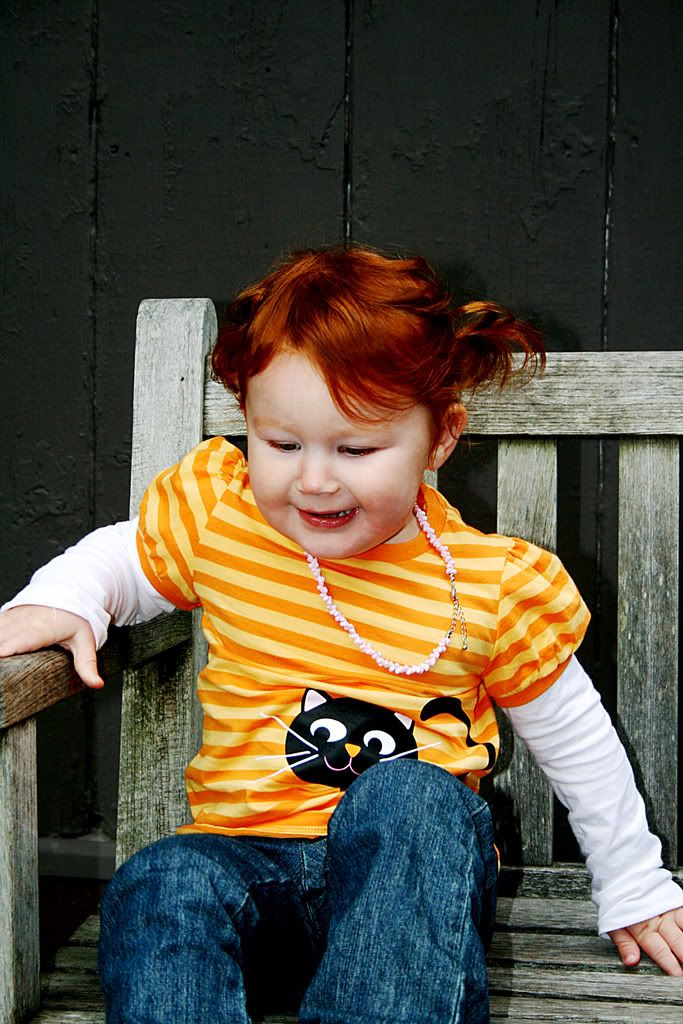
Here is a look at our before and after. Have fun and I'd love to see your creation!


No comments:
Post a Comment