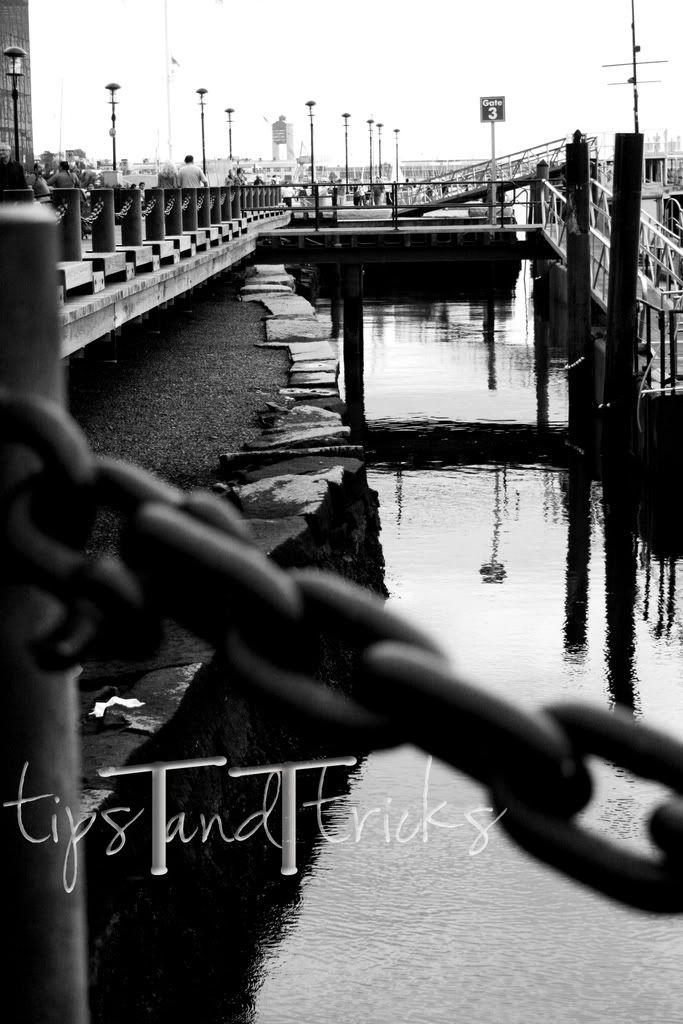
I was asked recently how to do watermarks in Photoshop. This is a great technique to know so you can protect all your photos or creations you want to protect so others can't steal it. I should also let you know that this isn't the only way but this is what I find to be an easy way for me. The way I choose to do it is by making a brush with our desired watermark image. So let's get started.
First you want to start by making the watermark. You can do just your business name, a symbol, your initials or your name or anything else you can think of. If you are going to create anew watermark like I did using type, choose the type setting you want create the look you want all on a second layer so that we can delete the paper and leave behind just the type. I chose to do my type color in gray so it's not so dark because you don't want to dominate your photo (or maybe you do, who am I to determine that!)
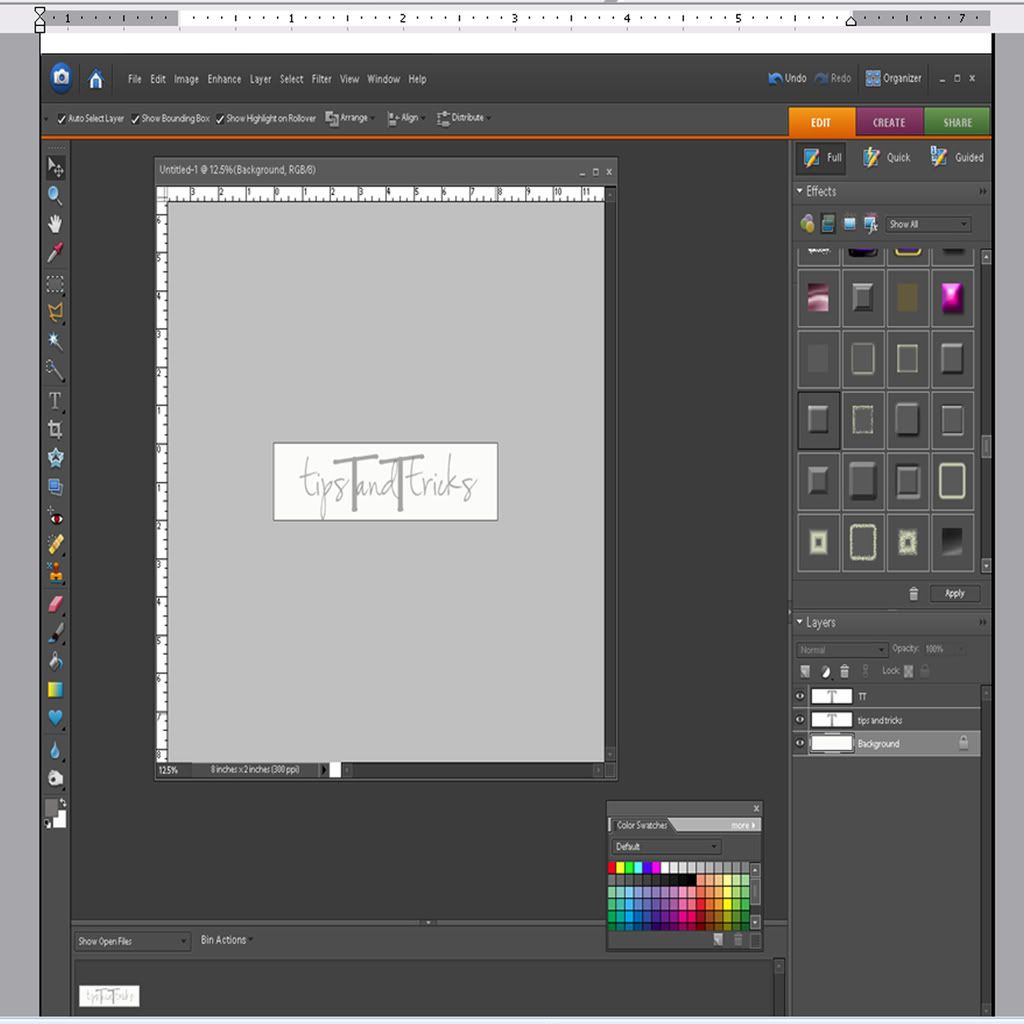 Once it's created, remove the background paper. Here you can decided if you want to change the opacity so that it looks like a watermark, after all that's what we're making, right!?! To do that right above the layers palette you will see the word opacity and a drop down menu when you click on it. Change it to whatever you'd like, I did around 90%. Then I added a slight bevel (my new favorite feature!). To do this choose the simple inner style on our layer styles menu. I changed the bevel to about 24, this just makes it stand up a little. It's a personal choice, feel free to exclude it.
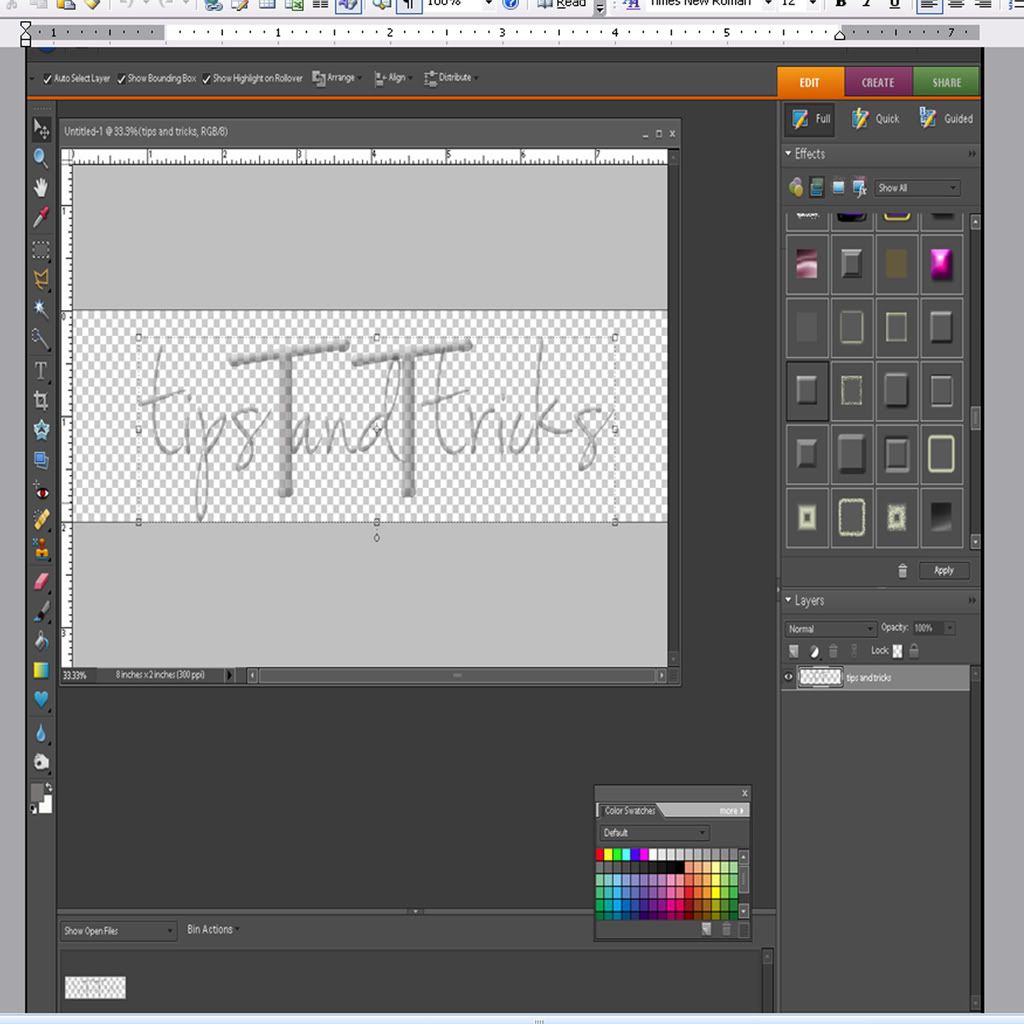
Now we're ready to define this as a brush. Go to Edit/Define Brush and rename your brush to whatever you'd like.
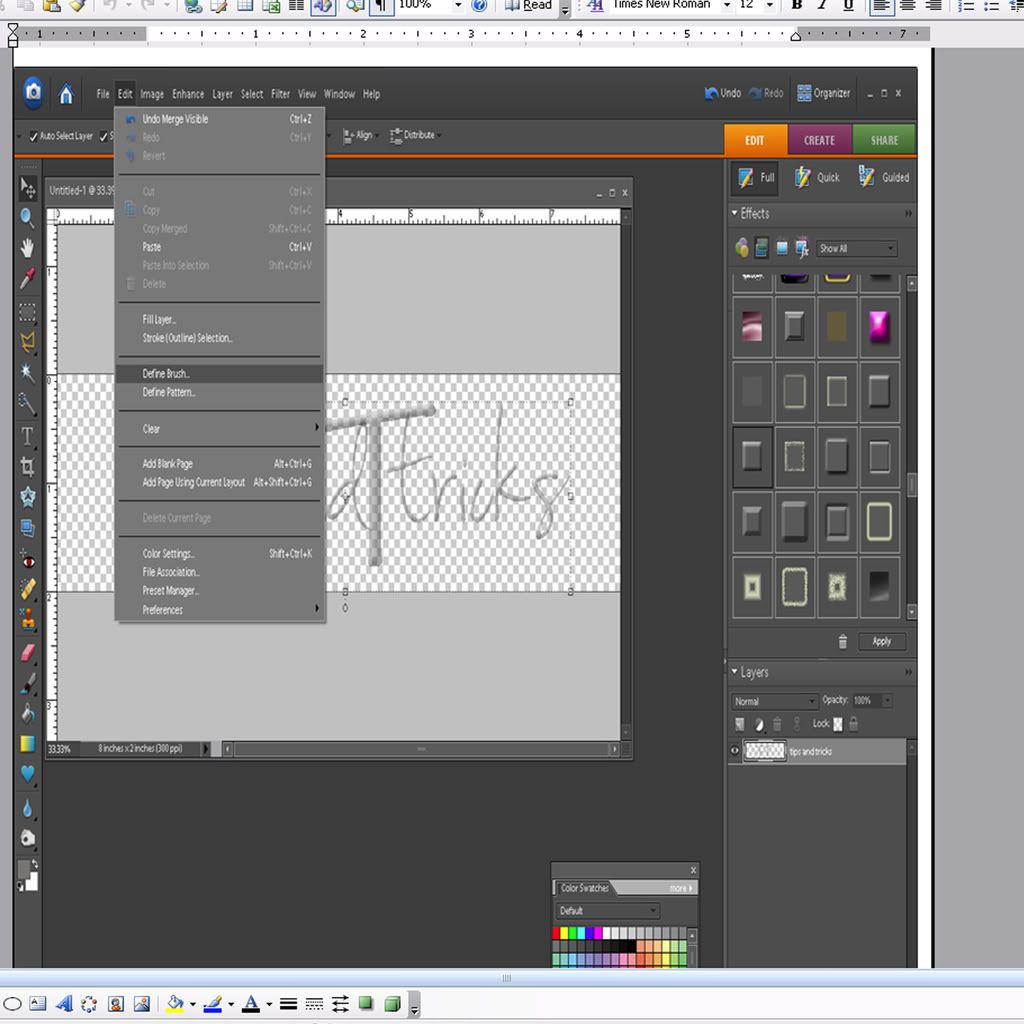 Once you do that, click on the brush and you will see your new watermark brush pop up.
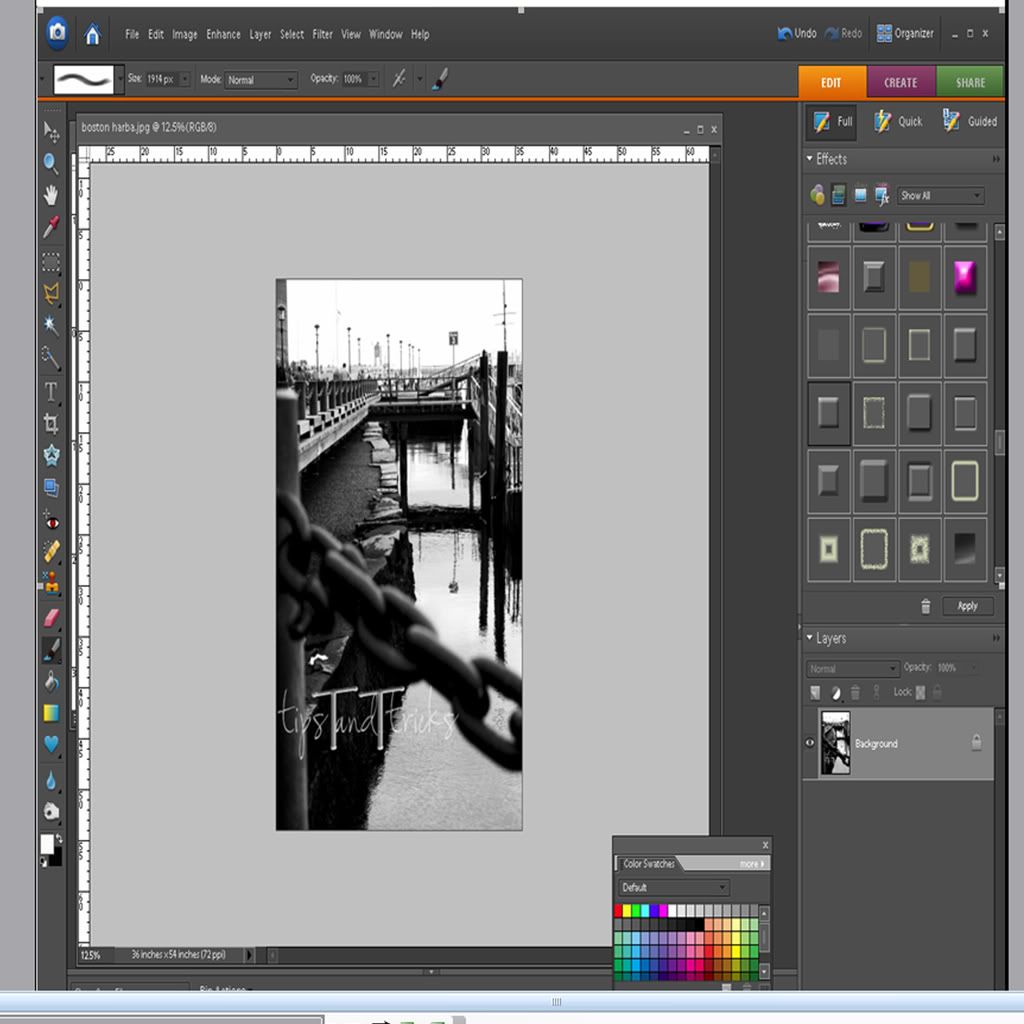
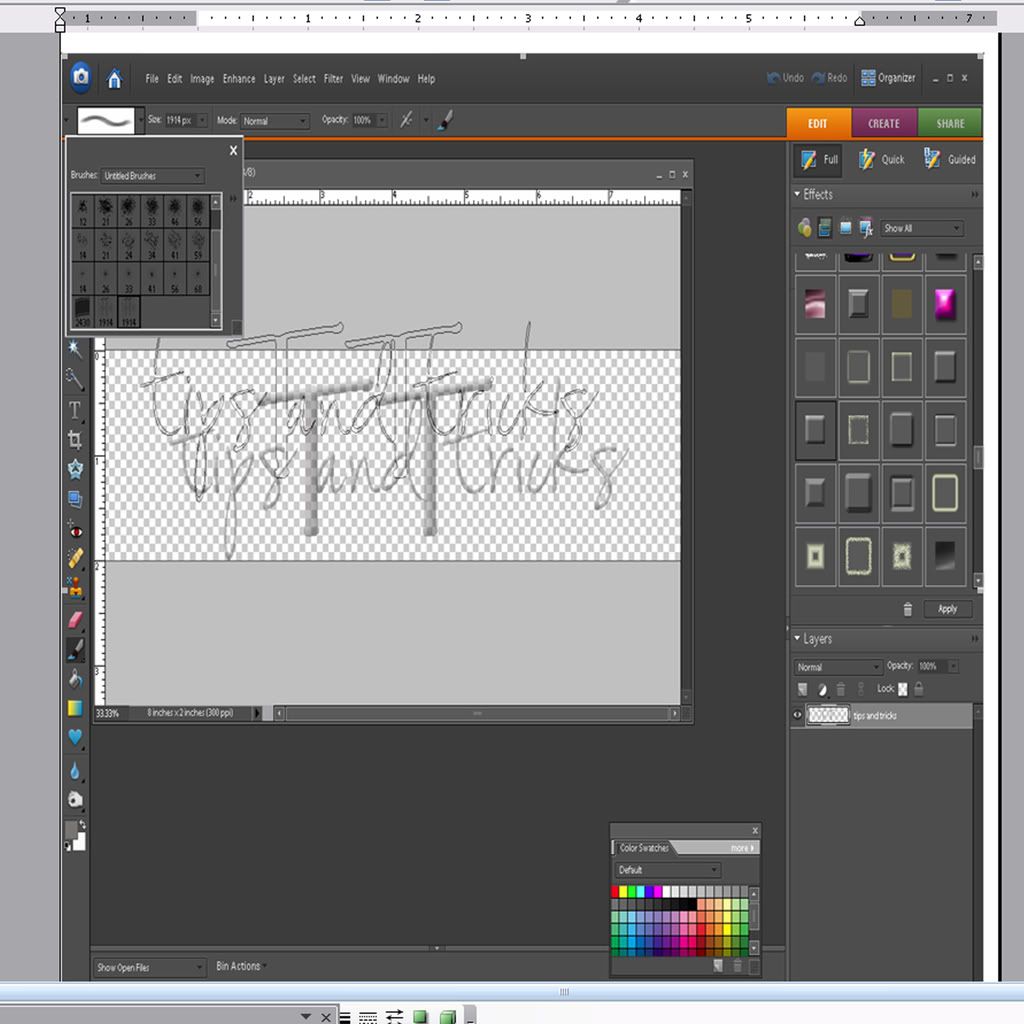 You are now ready to use it. Another tip, when you have a darker image like I do, you may want to change the brush color to white so it shows up better.











1 comment:
OK--I have a request. How do you make the colors in your pic seem brighter? I'm not quite sure how to describe this effect, but I've seen it on SO many photog blogs/sites. The colors look normal, just a little more intense. Anyway--I would LOVE if you could show how to do that! :)
Post a Comment