Would you like to advertise on this site? and/or share tips and tricks with me to add? Simply email me at j4atkinson@gmail.com for information.

To have your item featured in our weekly featured ad, let us know at j4atkinson@gmail.com.

Saturday, December 20, 2008

Liquify

Now that we have ribbon making down, a great technique to learn is how to make it look more realistic when you add an embelishment to your ribbon. Like pinching the ribbon or making it look like it's hanging down.

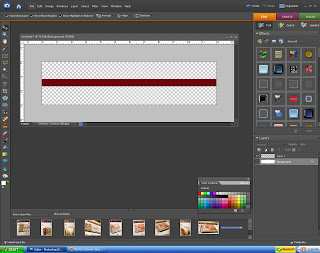
First open your ribbon, then open a new file that is 12x4. You'll want to drag your ribbon onto that new page. This is so we have space to work with our ribbon.


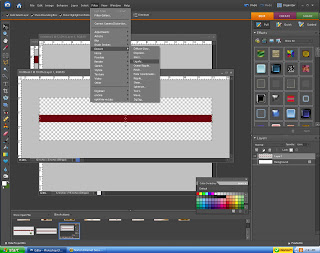
Now go to filter/distort/liquify. Depending on how much kinking/bending you want to do, you'll want to choose a different brush size. I chose a large brush 430 because I wanted a smooth bend in my ribbon. Play around with it and see what it does. If you don't like it, simply click revert and it will undo all the changes. Once you're happy with it, click ok.

There you have it, a realistic bend in your ribbon. Just add your charm and your set.
Next time, we'll learn how to make it so the charm and other items such as paperclips appear to be partly behind paper/ribbon/images and the rest not, the realistic look.

Monday, December 15, 2008

handwashing

This is kind of a silly tip, but kind of not. I am obsessed with washing my hands. I am a huge germaphobe, trying to recover OCD maniac. Well, a great tip I just heard from a Dr. -- the perfect amount of time for a person to wash their hands, keeping our little kidlets in mind, is the same amount of time it takes to sing the ABC's or Twinkle Twinkle Little Star. What a great idea.

On a similar note, when we started brushing my daughter's teeth she would fight it, she hated it so we decided to sing the ABC's and she loves it and has not faught getting her teeth brushed since. So, it sounds like the ABC's are a trick for several things.

Monday, December 8, 2008

Scentsy

I recently became a Scentsy consultant. If you haven't heard of Scentsy it's this amazing home fragrance system. Scentsy candles are a wickless, smokeless, and leadless candle system. There are over 80 wonderful scents to choose from. There is a scent for everyone and a warmer for all tastes. Right now, I am having a special, if you book a party with me (the parties are in home and online, so if you're not in the Albany, NY area by me, it's ok, you can do it on your own in your house or online only--or both and still receive the benefits) you will receive one free plug-in warmer of your choice for free. Let me know if you're interested and check out my site.

Scentsy

Friday, December 5, 2008

Christmas gift idea


Can you believe that right now at More Than Words Design, these are only $10??!!! Fabulous price and fabulous gift. You get to choose a charger color (red, silver or gold) and tell More Than Words Design the last name you want on it! If it is being shipped out of state (they are based in Georgia) there is a $5 flat shipping charge no matter how many you order!!! Just email Kerri at kerri@morethanwordsdesign.com and place your order. Check out their website www.morethanwordsdesign.com for other great deals but to order these be sure to email them so you can get the special price.

Wednesday, December 3, 2008

Two in one day :)

That's right, two posts in one day. I feel it's fitting since I haven't been around for at least a week. As all of us are I'm sure, I've been super busy with the holidays and then I'm doing a craft fair on Friday and two Scentsy parties this weekend, phew, busy but all of it's fun. But, I have some great stuff to add so why not do two in one day.

This one actually comes from my good friend, Amanda. Unfortunately for her, but fortunately for us, her youngest daughter got her cute little hands on a permanent marker and decided to display her artistic abilities on the counter and linoleum floor. That can't be a pretty sight to see!

So off my friend went to find help. She used Mr. Clean on the counters but, as I too learned from personal experience, Mr. Clean does not work at all on linoleum floors. I'm not sure why, but I too have scrubbed my floor with it to get a grape juice stain out and it didn't work, just like she didn't get the marker out. However, the good new is, toothpaste and baking soda remove permanent marker. Amanda said you can't even tell there was marker on the floor. Hopefully you won't have to test this one out, but rest assured if you do, there's a way to get it out. Thanks Amanda!!!!!

**All tips are much appreciated, email me at j4atkinson@gmail.com.**

Grosgrain ribbon

So often I make a page and realize I don't have the perfect matching ribbon to go with it. No worries, let's make our own ribbon. I think ribbon adds a lot to a page and it's super easy to make. If you prefer not to make your own and you have mounds of ribbon sitting in your craft room like I do, you can easily scan your ribbon in and use that to match your page but really this is super easy.

Start by opening a new document that is 12 inches in height and .5 wide. For now we want our image to be vertical and we will later switch it to horizontal (ignore that it is horizontal in this picture, I forgot to get a picture of the page when I first opened my image...whoops).
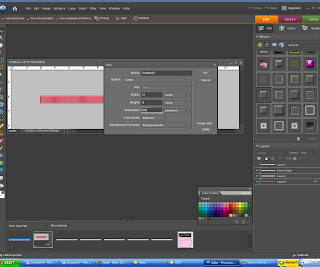
Now fill in the color to be one that matches your paper. You can use the eye dropper to copy the color and paint bucket to drop the color into your ribbon. Once you have your color as your foreground color, click on the background color (these are the two colored squares on the bottom left of your screen). You'll want to choose a color that is a couple degrees (if that's the word?!) darker than your ribbon color -- this will make sense as to why in a minute.

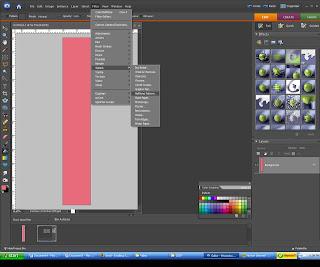
Now, go to filter/sketch/halftone pattern.
You can choose whatever you feel looks best but for reference I chose to do size 7 and 23 contrast, click ok and you can see that you now have the makings of grosgrain ribbon.
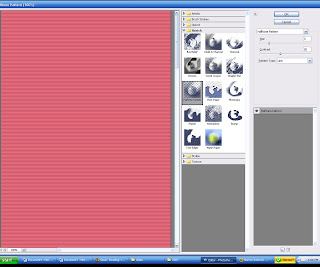
Now, remember how we had our background color changed to a couple shades darker then our ribbon color...go ahead and make this your foreground color, choose the brush and you'll want to choose a small brush size like 60. While holding down the shift key (remember that gives us the perfectly straight line) go around the edges of the ribbon to give it that finished edge of real ribbon.

To make it a little more realistic I decided to add a simple inner bevel to mine. I did a very light bevel but you can do as little or as much as you'd like or none at all.
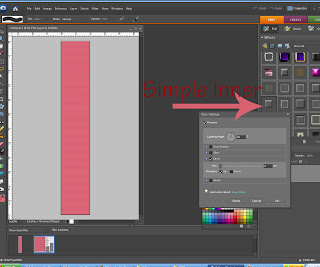

Now you can go to image/rotate 90 degrees to the left. You can stop at that or you can add ripples to your ribbon for a realistic touch. Some people add a gradient when doing this but I don't really like that because when you try to resize it, it gets all screwed up and I don't like that. So, what I decided to do was burn lightly where I wanted my ripples.

I chose the burn tool, changed the opacity to about 60% and chose the default brush of 300. Then I followed my ruler at the top and while holding down the shift key so I can make a perfectly straight line, I drew my line at about every inch.
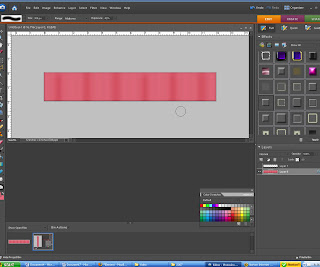
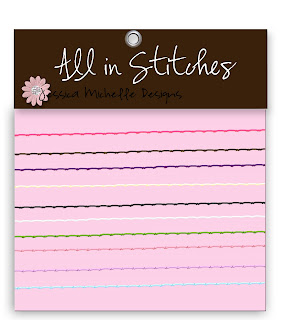
You now have a perfectly matching ribbon. I chose to add some thread along the edges just for fun.


If you would like to purchase a beautiful pack of 10 stitches go to here ETSY