Start by opening a new document that is 12 inches in height and .5 wide. For now we want our image to be vertical and we will later switch it to horizontal (ignore that it is horizontal in this picture, I forgot to get a picture of the page when I first opened my image...whoops).
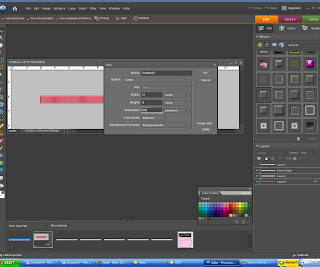 Now fill in the color to be one that matches your paper. You can use the eye dropper to copy the color and paint bucket to drop the color into your ribbon. Once you have your color as your foreground color, click on the background color (these are the two colored squares on the bottom left of your screen). You'll want to choose a color that is a couple degrees (if that's the word?!) darker than your ribbon color -- this will make sense as to why in a minute.
Now, go to filter/sketch/halftone pattern.
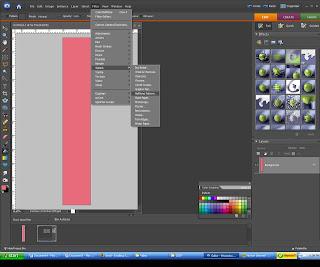 You can choose whatever you feel looks best but for reference I chose to do size 7 and 23 contrast, click ok and you can see that you now have the makings of grosgrain ribbon.
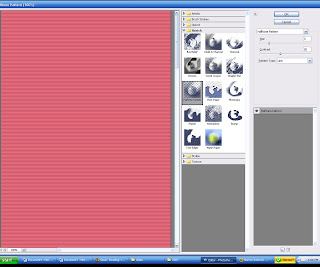
Now, remember how we had our background color changed to a couple shades darker then our ribbon color...go ahead and make this your foreground color, choose the brush and you'll want to choose a small brush size like 60. While holding down the shift key (remember that gives us the perfectly straight line) go around the edges of the ribbon to give it that finished edge of real ribbon.
To make it a little more realistic I decided to add a simple inner bevel to mine. I did a very light bevel but you can do as little or as much as you'd like or none at all.
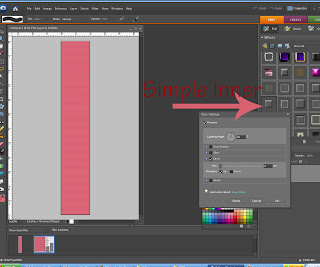

Now you can go to image/rotate 90 degrees to the left. You can stop at that or you can add ripples to your ribbon for a realistic touch. Some people add a gradient when doing this but I don't really like that because when you try to resize it, it gets all screwed up and I don't like that. So, what I decided to do was burn lightly where I wanted my ripples.
I chose the burn tool, changed the opacity to about 60% and chose the default brush of 300. Then I followed my ruler at the top and while holding down the shift key so I can make a perfectly straight line, I drew my line at about every inch.
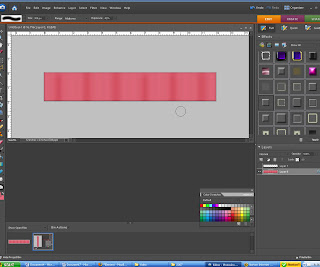 You now have a perfectly matching ribbon. I chose to add some thread along the edges just for fun.
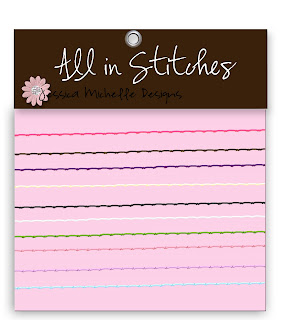
If you would like to purchase a beautiful pack of 10 stitches go to here ETSY






No comments:
Post a Comment